Saturday, September 5, 2015

Making reel seat hardware

       Here are some of the steps in My reel seat hardware making process. I use brass tube for all parts. Nothing fancy here. Just plain cap and ring slide band type. The accuracy of My little Sherline lathe with the digital readout make this a very simple task.

Slide bands and cork check are simply made from the tube. I now make the slide bands to .300 wide. the timber is turned to .650 with a mortise of about .095. So the slide band is turned slightly larger than .650.


The butt caps are made from tubing that is then soldered to brass plate.


Here are the parts before soldering.


After soldering and before clean up. These are trimmed and then chucked in the lathe with as little runout as possible. After that they will be turned down and then polished.


Finished butt cap.


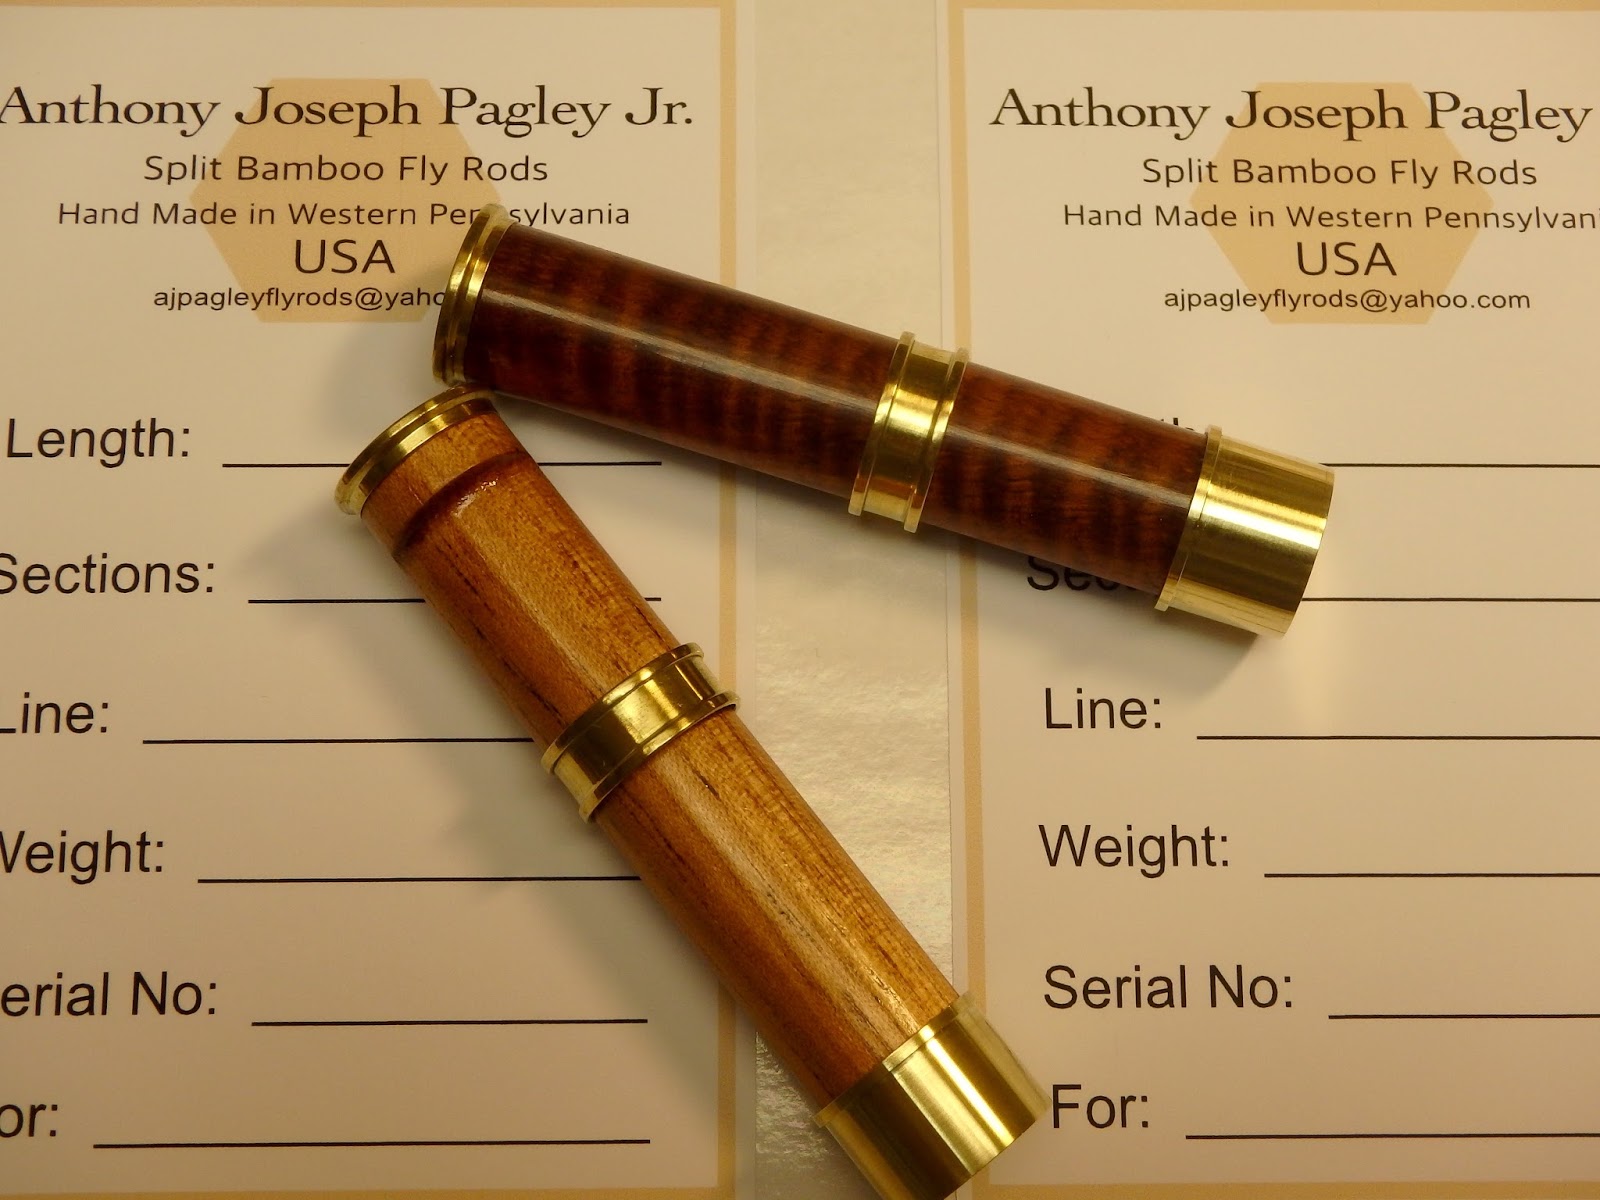
All parts finished and ready for bluing.


Final product before bluing and glueing.


Final dip for two 7 footers

      The two Seven foot Four weights I have been working on received their last coat of varnish. The work is not quite done yet though. They need to completely dry before the finish can be toned down a bit and then polished. The reel seats still need mounted and blued after the hardware is made and the ferrule bluing needs touched up and laquered.

Here are the rods at this stage. Not rubbed out or polished yet.


Saturday, August 22, 2015

My local trout stream.

     My local Brown Trout stream. Not what it used to be, more crowded than it used to be, but still pretty much in the back yard. I could walk to it if I had to. Enough fish to make it worthwhile and some big fish too. Small and very rugged. This is where I learned to fish for Wild Brown Trout. It made me a better fly fisherman. It's tough and the skunk comes often if the conditions aren't right. I wouldn't trade it for any other stream.


No, I won't tell you where it is.


Creek resident caught on My version of a PHY Midge.


New Beveler some splitting, fishing, roughing

     Finally got a Bellinger Little Giant Beveler. This thing is awesome. What a time saver. Also did some splitting and roughing while varnish is drying on some rods.


New beveler. Yessss.


Here some pictures of node work. This and straightening are the hardest and most time consuming part of bamboo fly rod building. (In My opinion anyway).

Picture of a node that was sanded after pressing.


The end result in a finished rod.


Half a culm split into 12 strips.


2/1 Rod roughed and ready for heat treat.